Becoming an EFL Teacher: A Step-by-Step Guide
- Cambridge English
- Teaching qualifications
- Tips & Strategies
- Methodology
5 minutes
31.01.2024
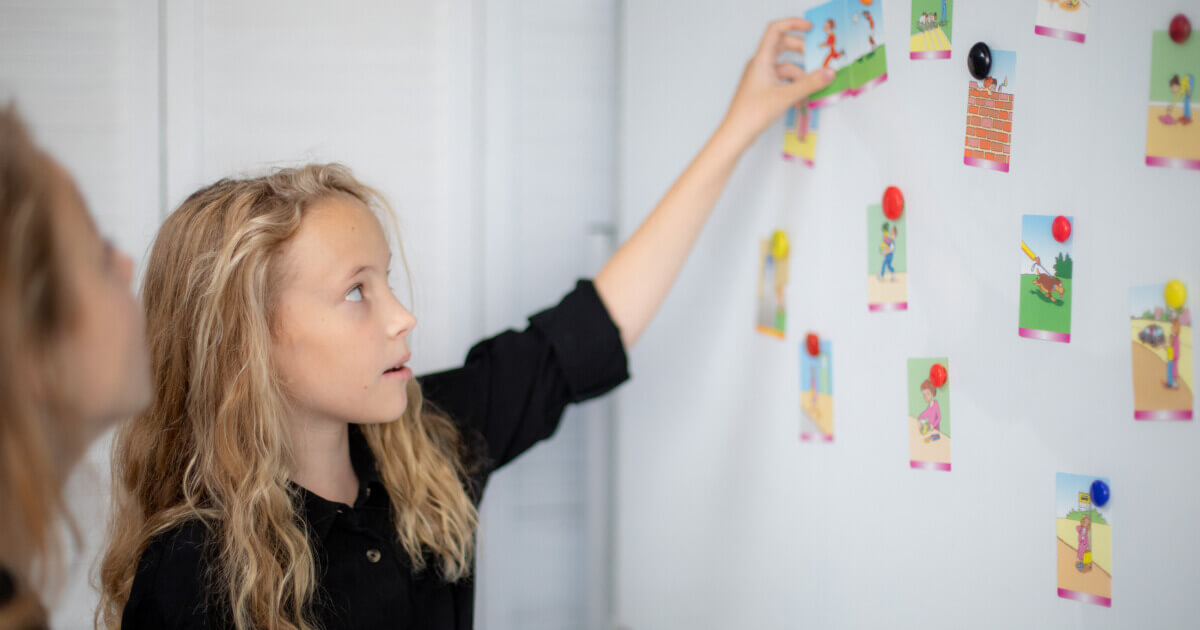
ESL teachers know that it is not enough to simply explain things using your voice and knowledge. It is also crucial to show the material, note and visualize it. This is where boards are essential!
However, while offline teachers often forget about all the opportunities boards can give, some online educators might simply not be aware of the tools that will serve them as boards.
That is why Grade University shares its ESL tips and tricks on how to make the most of your boards, both offline and online.
The coolest English apps for students
The board, a usual or digital one, is a powerful tool that can dramatically boost the effectiveness of your lessons.
Take for example, listening; with no visual aid, it has proved to be tiring and less effective.
Moreover, the ineffectiveness only increases as people get more and more used to short, colorful, and attractive online content. Therefore, boards are the tools that help students stay focused and keep track of the material that is presented.
Boards are commonly used for:
While the majority of teachers are active board users, some of us still forget to make use of its power. That is why we are going to look through some key principles of working with both online and offline boards.

Create effective lesson plans
Master lesson planning with usIt seems that a board in an offline classroom exists as long as teaching itself. However, some basic principles and aims of using it need clarification.
Your students are supposed to be able to see the board clearly and freely.
Move swiftly away from the board when you write anything so that the students can see what you have written. Take care of the letters’ size and the colors you use as well.
Each of us has unique handwriting. However, certain languages may have slightly different letter shapes or handwriting styles as well.
Make sure that your students can read what you have written properly and make all the necessary clarifications if needed.
Develop students' writing skills!
As you write, review what you’ve written.
Since a lot of people learn best by seeing, we need to be extra cautious when it comes to spelling and grammar, especially if we want students to copy the notes down in their notebooks.
Make sure your students are prepared for you to clean the board. Students may write at different speeds and it’s absolutely OK.
Let everyone finish writing everything down without putting any extra pressure on them.
You can always ask some extra questions to the students who have already finished in order to give everyone else enough time.

It is always handy to divide your board into sections.
You can use one for notes, the second for rules that stay untouched during the whole lesson, the third for terms or ideas, etc. Generally, it is up to you how to use your space. The bottom line is that creating a certain reusable scheme is always beneficial.
Colors are a perfect way to remember things for all visual learners, so don’t underestimate them.
Think carefully about how you want to highlight your information and in which cases it would be appropriate. Don’t overuse colors, though. There is nothing worse than too much red, for example. You’d better use this specific color only with the most important information, etc.
Manage your online classroom with ease
Make the process of using the board interactive. It is high time to stop making students associate the board with stress, struggles, or even humiliation!
Invite students to work, write, and draw on the board. When working on a group assignment, you may let your groups use the board as well for preparation or presentation.

While teaching offline with the help of the board is pretty understandable, organizing an online lesson turns into a great challenge. A lot of professionals ask whether it is even possible to be as flexible online. And our answer is “yes!”
Here, we are about to share some valuable tips and online sources that will help to make your online lesson even more effective and engaging.
Learn more about useful online tools!
It may sound crazy but online boards have many more features and give an ESL many more opportunities than the ones in a traditional classroom.
You can use different writing styles, colors, and emojis to make your notes more memorable.
Moreover, all online boards allow you to pin much more than a simple text.
You can add pictures, GIFs, files, folders, drawings, audio and video files as well as links. This feature reinvents the whole concept of the board while making it an integral part of the lesson.
Additionally, the majority of online boards give you a chance to save the progress.
Therefore, students don’t have to rush to rewrite anything: you can simply send them the board.
Below we will look through the most popular online boards every ESL teacher should keep at hand.

Among ESL teachers, Padlet has become more and more popular lately.
This is due to the fact that it is very helpful for brainstorming, group projects, idea sharing, and any other sort of activity where you require a board for placing files, messages, or images.
It may be shared with an infinite number of people and is both colorful and practical, all created in your own unique style. Many experts use it to arrange their own materials or course information in addition to using it for the classes. Premium users get access to more features.
Without this tool, it is difficult to think of an ESL class.
Miro is a popular board that can be easily customized to fit your theme or style, and it’s used to organize photographs, projects, presentations, videos, and much more all in one place.
With it, you may educate online without having to click on hundreds of links, which is extremely helpful. Simply put, Miro is more than just a board, it is the whole lesson on a board. There is also a premium mode available.
What are the key problems in the online class?
Jamboard is a special app created by Google. It is a collaborative work area that takes the shape of boards, which can be made up of several frames and resemble digital chart paper (similar to slides).
When you provide creators and participants the URL to the Jamboard you want them to work with, they may write text, draw, import photos, put sticky notes, and erase.
It is not as advanced as the two previous options, however, it has enough features to make the board work as it should.
Finally, if you are not an app geek, you can always choose a Zoom/Google Meet Whiteboard.
Although the functions you will have are pretty limited, it is a nice way to note something if necessary quickly. This feature can truly save the lesson sometimes, especially if you have not been prepared for some unexpected twists and turns in it!

As you can see, using a board offline doesn’t necessarily mean following conservative teaching methods, while applying online tools doesn’t require any extra skills and isn’t that difficult at all. However, if you are new to online teaching and would like to know more about using digital tools, make sure to join the Grade University community of professionals.
Is it less effective to use boards during online classes?

Arina Kravchenko
Author
Teacher of General English & IELTS
Comments
Leave your comment